
Last updated October 16, 2026
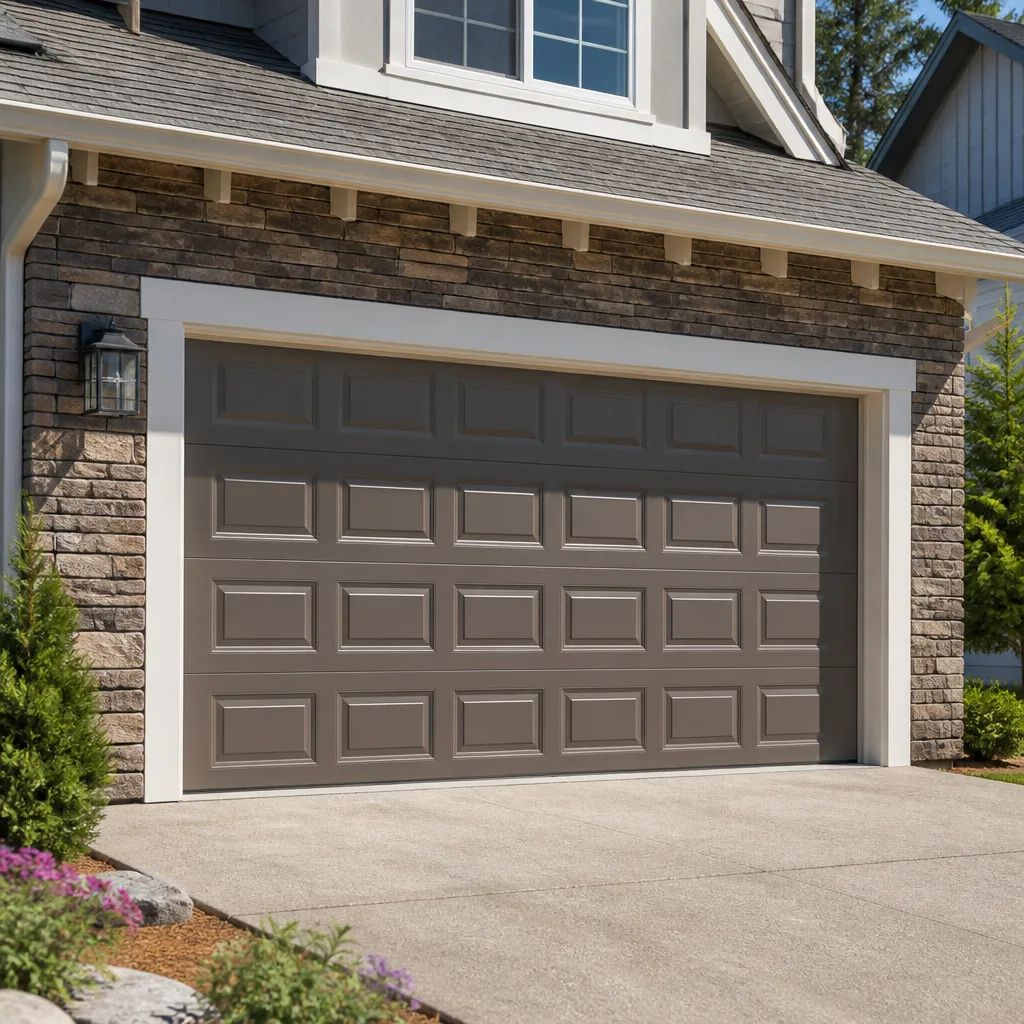 Raised-panel steel
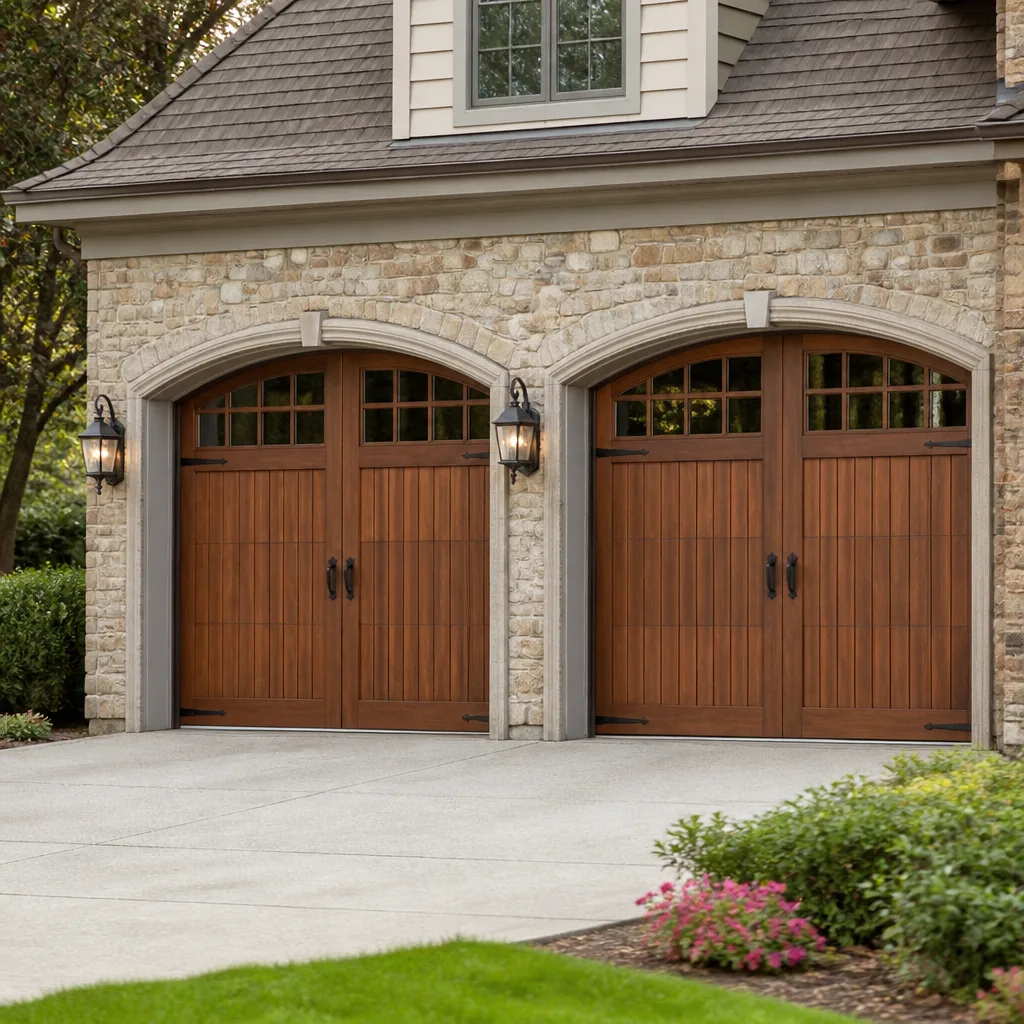 Carriage house
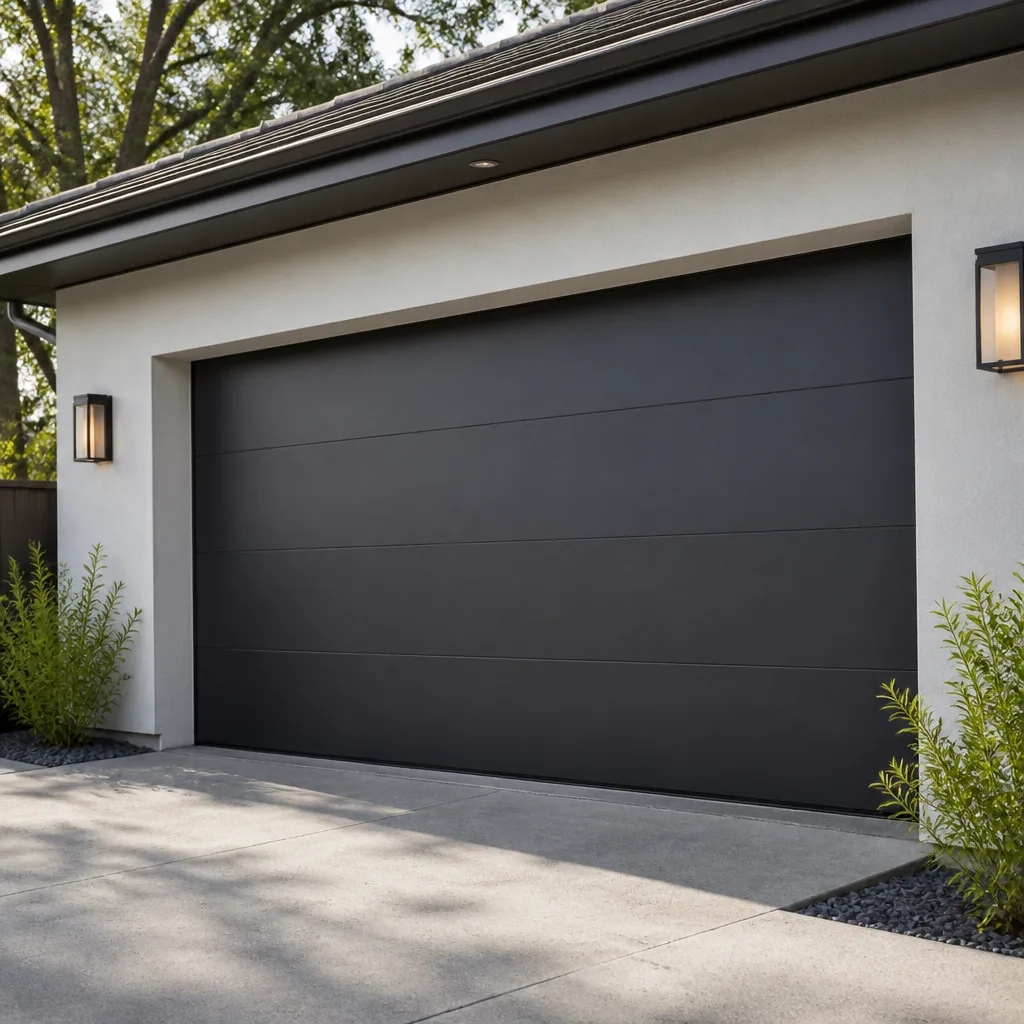 Modern flush
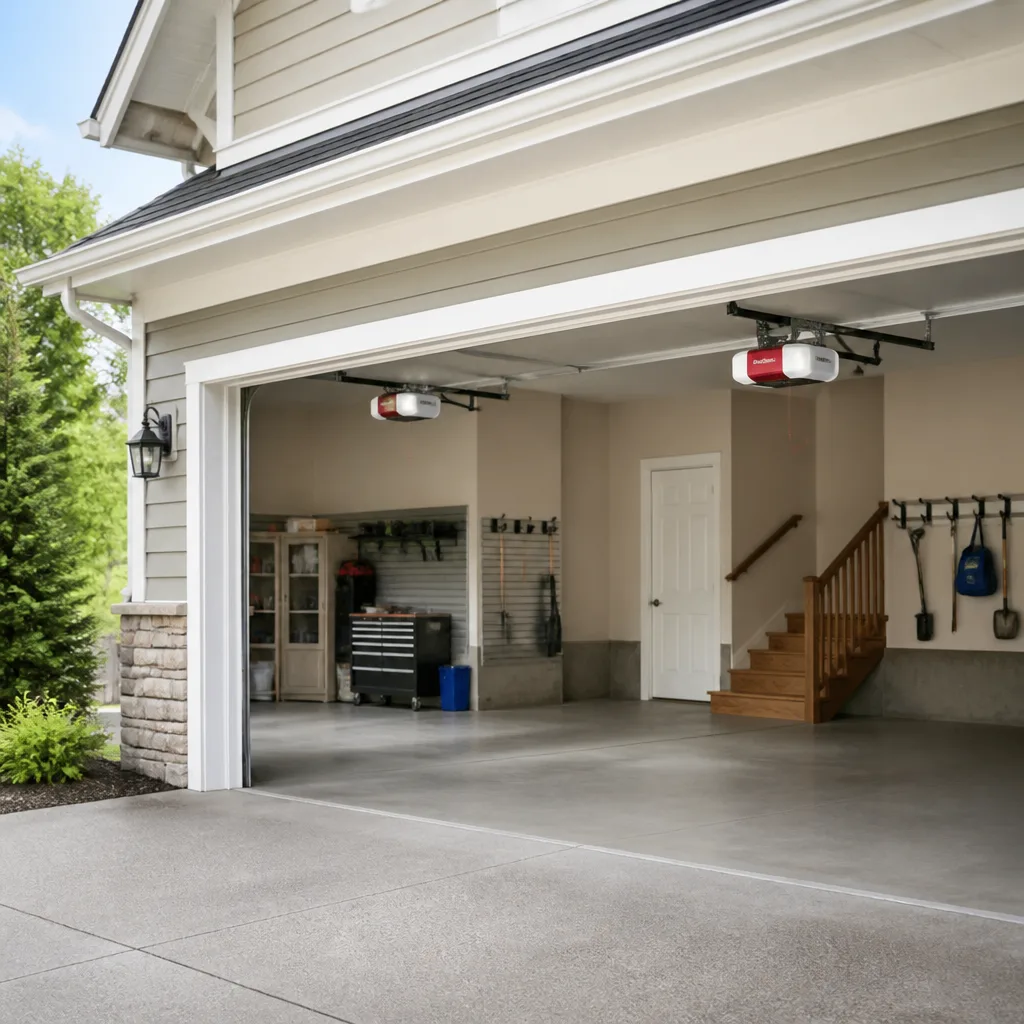 LiftMaster openers
 Chamberlain openers
Full 25-point door and opener safety check with every visit - springs, cables, rollers, tracks, and your LiftMaster or Chamberlain opener included
You get a price before we start. It does not change when the truck arrives.
Get your free estimateGarage Door Repair Maintenance Checklist for Austin Homeowners
A loose lag bolt on a torsion spring bracket is the number-one finding on Austin Garage Door Repair service calls. It costs nothing to tighten and takes under a minute, yet it’s missing from every manufacturer maintenance checklist. That’s because manufacturers aren’t the ones answering 7 a.m. emergency calls from homeowners in Allandale or Circle C whose door came off its tracks overnight. This guide is built from what our technicians in Austin actually find when they show up: the six failure points that lead to complete door failure, ranked by how often we see them, and the specific, season-timed steps to stop them before they strand your car in the driveway.
Quick Answer
A garage door maintenance checklist for Austin homeowners should cover six things in order of urgency: torsion spring mounting bolts, roller and hinge lubrication, cable tension and fraying, track alignment, opener limit switches, and weatherseal condition. The single most overlooked task is checking and tightening the lag bolts that hold the torsion spring center bracket to the header, because a loose bracket under spring torque is the leading cause of sudden, complete door failure in Austin. Most homeowners can handle lubrication, visual inspections, and weatherseal replacement themselves; spring adjustment, cable replacement, and track re-alignment should always go to a trained technician.
Styles & brands we work with
Table of Contents
- The 6 Failure Points Austin Techs See Most, Ranked
- The Austin Month-by-Month Maintenance Calendar
- Which Lubricants Actually Work in 100°F Heat
- The 60-Second Weekly Driveway Check
- When Maintenance Crosses Into Licensed-Tech Territory
- Common Mistakes to Avoid
- When to Call a Professional
- Frequently Asked Questions
The 6 Failure Points Austin Techs See Most, Ranked
We’ve been doing garage door repair in Austin since 2001, and the pattern never changes. Here are the six things our technicians find on service calls, in the exact order of how often they cause a door to fail completely within 90 days of being ignored.
1. Loose Lag Bolts on the Torsion Spring Center Bracket
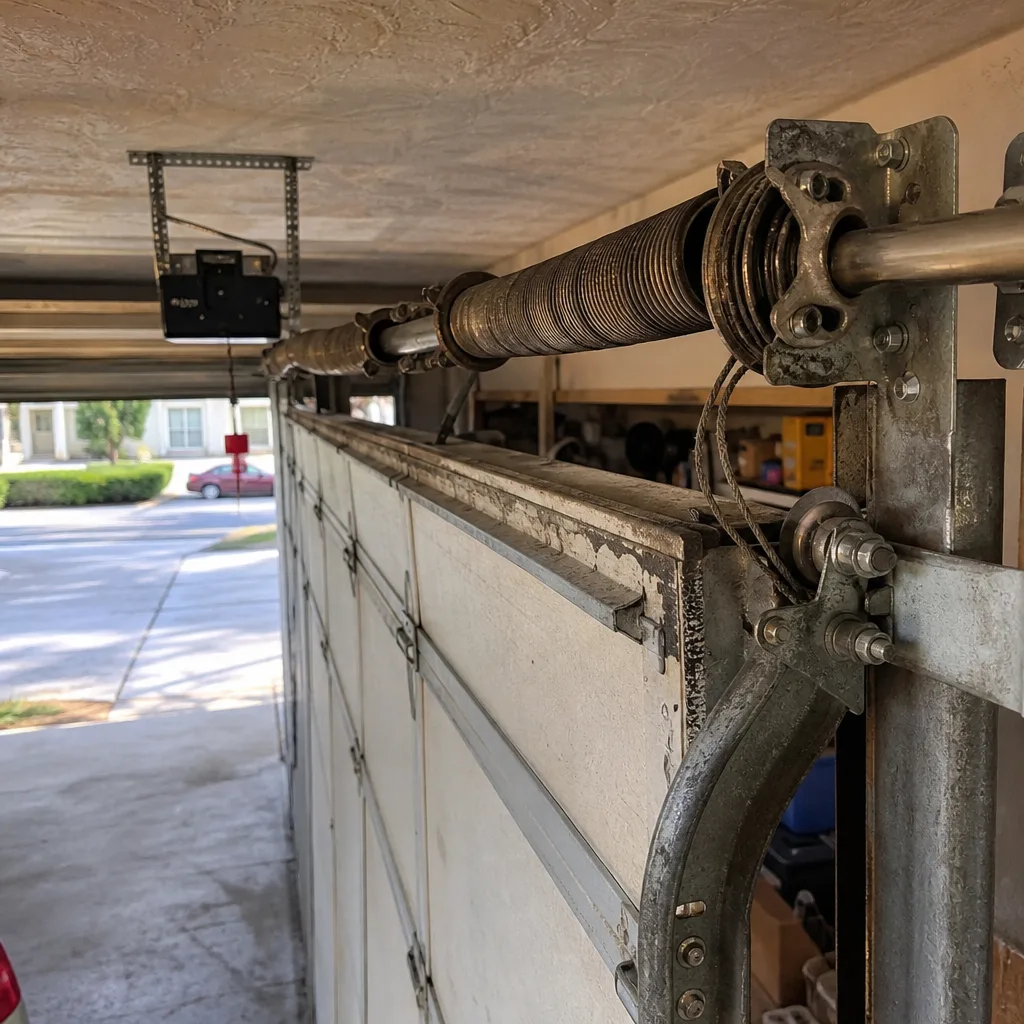
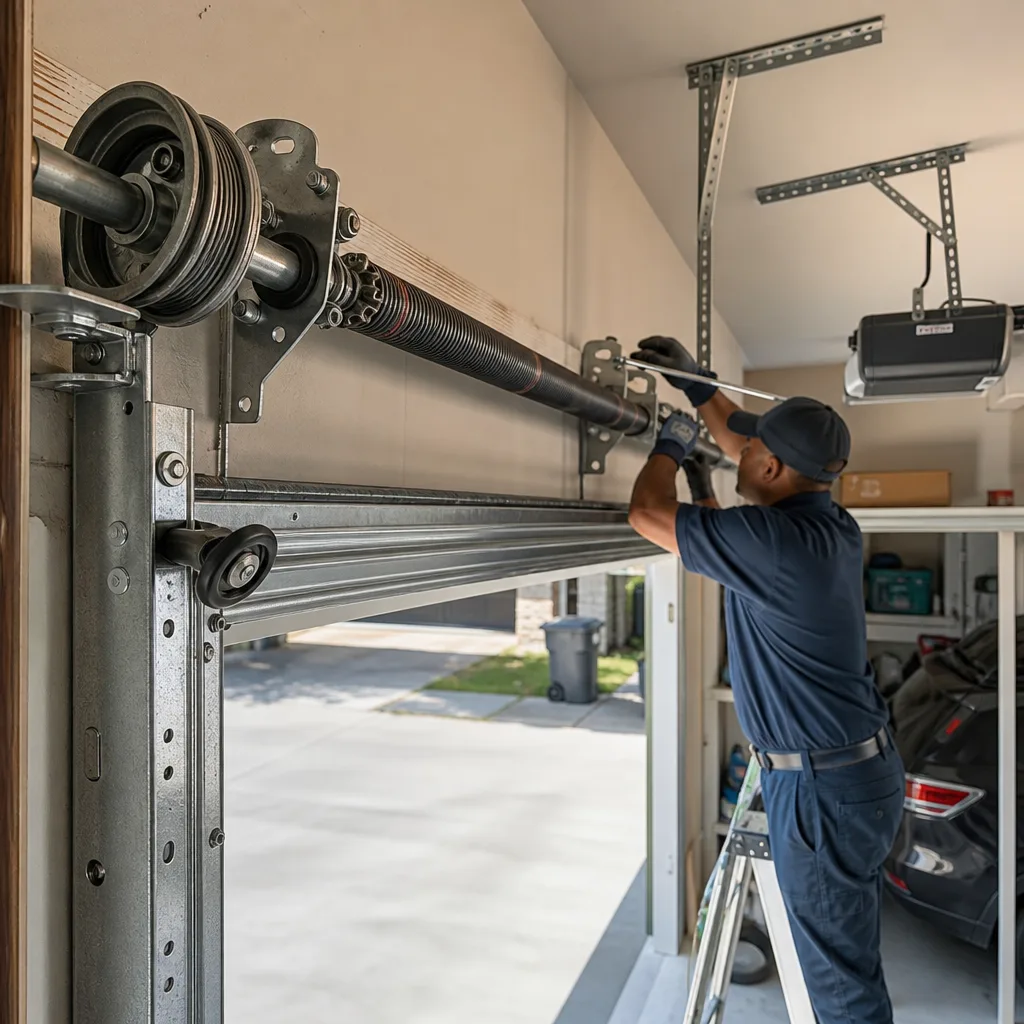
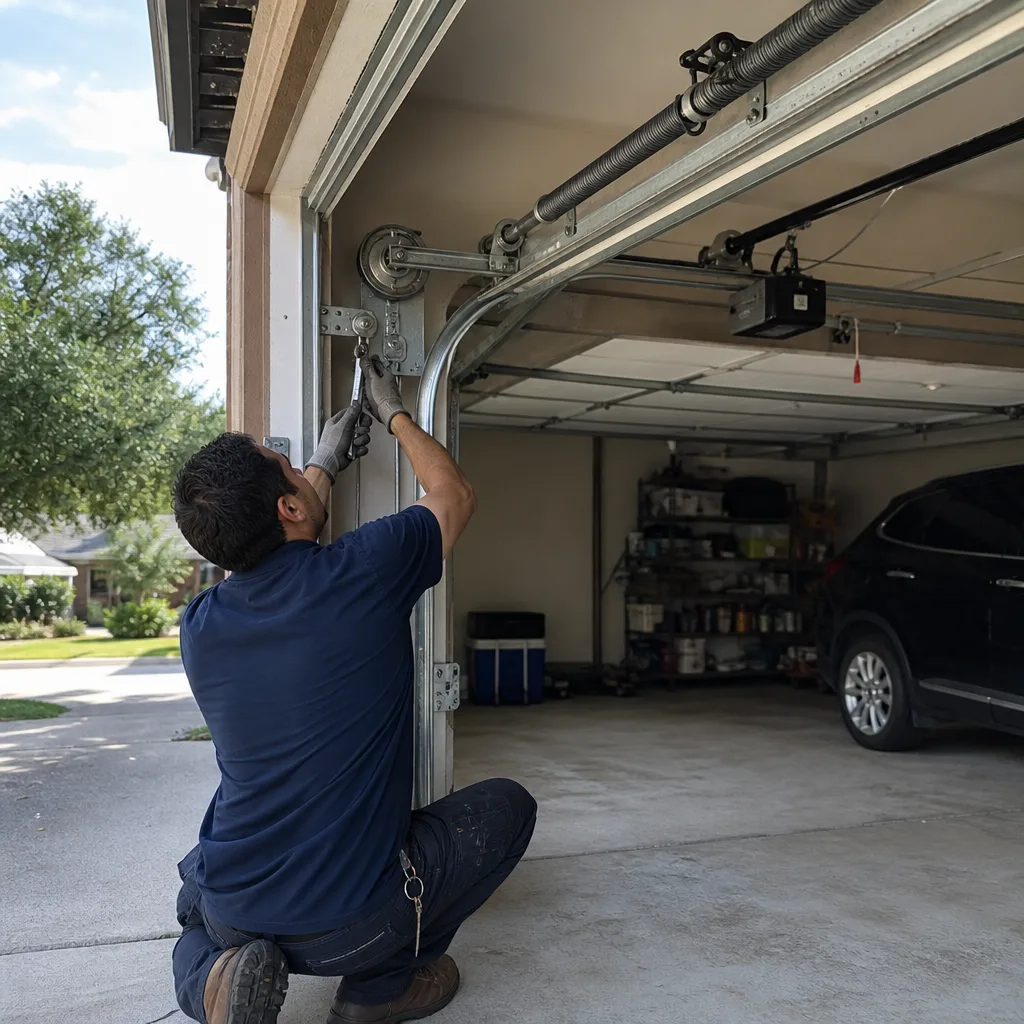
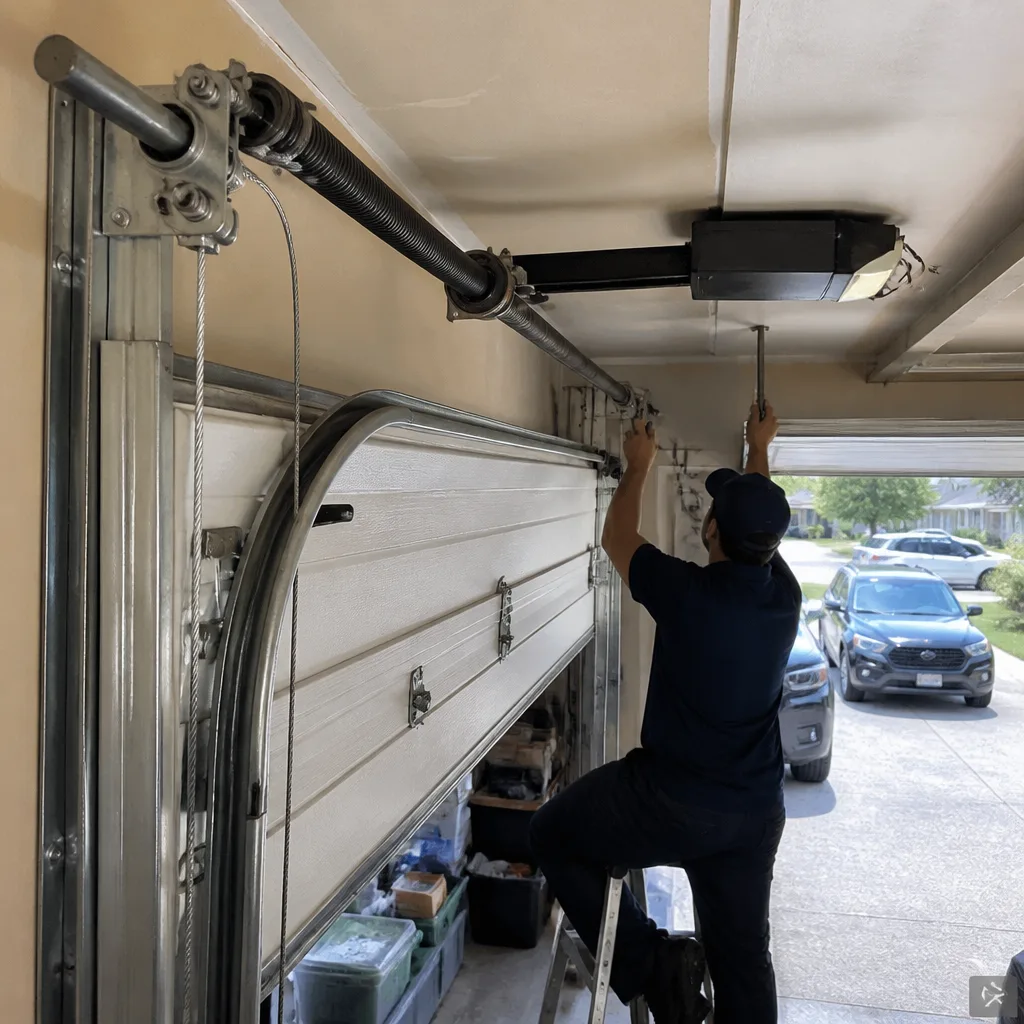
The torsion spring is the large coil mounted horizontally above the door that does most of the lifting. It’s bolted to the header with lag bolts, and over thousands of open-close cycles, those bolts work loose. In Austin’s clay-heavy soils, houses settle unevenly, and that subtle frame movement accelerates bolt loosening. The symptom you’ll notice first is a faint creaking or popping sound when the door starts to move. That sound is the bracket shifting under spring tension. Ignore it, and the bracket eventually pulls away from the header altogether. The spring spins free, the door slams down, and you’re looking at a repair that costs $350 to $550 instead of a zero-dollar bolt check.
2. Dry or Worn Rollers
Rollers are the small wheels on the door’s side hinges that ride inside the vertical tracks. In Austin, the combination of cedar pollen in the spring and extreme summer heat dries out roller bearings faster than in most climates. A roller that’s lost its lubrication makes the door sound rough and causes visible shaking as it travels. A roller with a worn bearing can seize entirely, and a seized roller is what drags a section of the door out of its track. The symptom before failure is almost always a door that feels heavier or jerks at a specific point in its travel. Replacing a standard roller costs $15 to $25 at a hardware store; replacing a bent track section after a derailment costs $250 to $400.
3. Misaligned or Shifted Tracks
The vertical tracks on either side of the door and the horizontal tracks above it guide the entire assembly. In Austin homes built on expansive clay, the garage slab and wall framing shift with soil moisture changes, especially after the wet-dry cycles of a Texas spring. A track that’s shifted even a quarter inch squeezes the rollers and forces the door to fight itself. You’ll see scrape marks on the track surface or hear metal-on-metal grinding in one spot. Left uncorrected, the door will eventually bind hard enough to bend a track section or snap a roller stem. Track realignment is a 20-minute job for a technician with a level and the right wrench set; it is not something to force with a pry bar.
4. Frayed or Uneven Lift Cables
The lift cables are the steel cables that run up both sides of the door and wrap around the drums on the torsion tube. They carry the door’s full weight when the spring transfers it. A cable with broken strands will look fuzzy or have small wire spikes poking out. In Austin’s humidity swings, condensation inside the garage accelerates surface rust on cables if the garage is uninsulated. The symptom is a door that rises unevenly, one side higher than the other. A snapped cable while the door is moving is violent and dangerous, and it often takes out the track, a roller, and a section of the door in the same event. Cable replacement is a technician-only job, period. The tension involved can remove fingers.
5. Limit Switch Drift from Heat Expansion
The limit switch inside your opener tells the motor where “fully open” and “fully closed” are. It’s a small adjustment screw or plastic dial, and in Austin’s 100°F summer days, the metal and plastic components inside the opener expand enough to shift the switch’s calibration. In our experience, doors that start reversing on their own or refusing to close all the way in July and August are usually limit-switch problems, not sensor problems. The quick test: disconnect the opener by pulling the red release handle, run the door by hand, and see if the problem persists. If it closes smoothly by hand but acts up under opener power, it’s the limit switch. A five-minute recalibration from a technician solves it; the parts rarely need replacing.
6. Hardened or Cracked Bottom Weatherseal
The rubber seal along the bottom of the door keeps water, dust, bugs, and hot air out of the garage. Austin’s UV exposure hardens rubber faster than most owners expect. A seal that’s lost its flexibility lets dust from limestone gravel driveways blow in, lets cooled air leak out, and in heavy rain events like the May storms, lets water pool under the door. You’ll see daylight under the door edge or flaking rubber when you inspect it up close. A replacement seal costs $25 to $40 and takes 20 minutes to swap on most Clopay and Amarr doors. It’s the cheapest item on this list, and it’s also the one that protects everything else in your garage from Austin’s dust and humidity.
The Austin Month-by-Month Maintenance Calendar
Most checklists hand you a generic “inspect monthly” list and call it done, but our more guides & resources go deeper. Here’s a calendar timed to what actually happens in Austin, because a maintenance task done at the wrong time is a task wasted.
- January, after the first hard freeze: Check lift cable tension and look for stiff spots in the door’s travel. Cold snaps contract metal; a cable that was already borderline will show slack or unevenness now. Run the door up and down once with the opener released and feel for resistance.
- February: Test the auto-reverse safety feature. Place a 2×4 flat under the door and close it. The door should reverse within two seconds of contact. If it doesn’t, the opener’s force setting is too high. Call a technician; this is a safety repair, not a DIY adjustment.
- March through May, cedar season: This is the critical lubrication flush. Cedar pollen coats every moving part with a fine, slightly sticky film that acts like sandpaper. Wipe down the tracks with a dry rag, then lubricate rollers and hinges. If your allergies are bad inside the garage, the pollen is on the door too.
- June: Check the weatherseal along the bottom for cracks. Austin’s UV starts doing its damage in late spring, and by June the signs are visible. Inspect the door’s exterior face too, especially if it faces west and takes afternoon sun.
- July and August: The heat-expansion months. Test the limit switch by opening and closing the door under opener power. If the door reverses at the bottom or stops short at the top, note where, release the opener, and see how it behaves by hand. This tells you whether it’s an opener calibration issue or a door binding issue.
- September: Tighten every visible bolt and lag screw you can reach without touching the spring itself. Use a socket wrench, not pliers. The end-of-summer check catches the bolts that heat cycling loosened during the hottest months.
- October: Inspect the full track run from top to bottom for scrape marks, bends, or gaps. Fall is the most comfortable time in Austin to do a proper close-up inspection, and you want any track issue caught before the season of heavier door use begins.
- November: Lubricate again, but this time use a lighter application. Winter temperatures in Austin rarely stay below freezing long, but a lighter coat keeps lubricant from thickening on cold mornings.
- December: Test the opener’s manual release. Pull the red handle and lift the door by hand. Does it move smoothly? Does it stay put at the halfway point, or does it drop? A door that drops has a spring problem; a door that binds has a track or roller problem.
Which Lubricants Actually Work in 100°F Heat
Most off-the-shelf spray lubricants are designed for temperate climates, and Austin is not temperate. Here’s what actually holds up.
Use a white lithium grease or a dedicated garage door lubricant on rollers, hinges, and the torsion spring. White lithium stays in place at sustained 100°F temperatures and doesn’t run off. Look for a product labeled for garage doors; Genie and Chamberlain both sell one, and they’re available at any Austin hardware store for $8 to $12.
Do not use WD-40. WD-40 is a water-displacing solvent, not a lubricant. It cleans off old grease and then evaporates, leaving the metal drier than before. On garage door rollers and hinges, that means more friction, not less. In Austin’s heat, WD-40 evaporates even faster, which compounds the damage. We replace more rollers in August than any other month, and WD-40 use is a consistent factor in the worst cases.
Do not use penetrating oil like PB Blaster, either. It’s for loosening rusted bolts, not for long-term lubrication of moving door parts. Its thin viscosity means it runs off in heat and collects dust in spring.
The right amount is a light coat, not a soak. You’re lubricating the bearing surfaces, not painting the door. Too much lubricant in spring becomes a pollen magnet, and a greasy roller track is harder to clean than a dry one. Apply to the roller stem and ball bearings, the hinge pivot points, and a thin bead along the torsion spring coil. Wipe any excess with a rag.
The 60-Second Weekly Driveway Check
You don’t need to touch the door to catch most of what goes wrong. Once a week, stand in your driveway and run through these five observations. Each one takes about ten seconds. Together, they’ll catch issues before they become breakdowns.
- Watch the door move through one full cycle. Does it rise and fall evenly on both sides? Does it hesitate, jerk, or shake at any point? A healthy door moves in one smooth, continuous motion. Any interruption is a symptom.
- Listen for new sounds. A garage door in good condition is nearly silent, with only the low hum of the opener motor. Grinding, popping, screeching, or banging are all language. Each one translates to a specific part: grinding is rollers or tracks, popping is the spring bracket, screeching is dry hinges.
- Look at the gap under the closed door. Is it even from left to right? Daylight showing on one side but not the other means the door is sitting crooked, which points to a cable or spring problem. A gap across the whole width but uneven in height means weatherseal replacement.
- Check the visible track bolts. From the driveway, you can see the vertical tracks. Are the bolts holding them to the wall still flush? A visible gap between the bolt head and the track means shifting has started.
- Note the door’s position when closed. Does it sit flush against the opening, or does the bottom edge have a small bow? A bow that gets worse week over week is a spring losing tension. Catch it early, and it’s a spring adjustment. Catch it late, and it’s a snapped spring at the worst possible moment.
When Maintenance Crosses Into Licensed-Tech Territory
Every maintenance task sits on a spectrum from “confident homeowner weekend project” to “call someone before you touch it.” The line is not about your capability; it’s about physics.
Safe to do yourself: lubrication, weatherseal replacement, bolt tightening on tracks and hinges, visual inspections, opener force testing with the 2×4 block, cleaning the tracks with a dry rag, painting the door face.
Not safe to do yourself, ever: anything involving the torsion spring, the lift cables, the spring bracket, or the spring’s winding cone. The torsion spring on a double-width door holds enough stored energy to break bone or remove limbs when it releases. The lift cables run through that same system and carry the door’s full weight. One wrong move with a wrench on a spring bracket under tension, and the wrench becomes a projectile.
The insurance consequence most homeowners don’t know: if you injure yourself attempting a spring repair and file a homeowner’s insurance claim, the claim can be denied on the grounds that the work required a qualified professional. In Texas, insurance adjusters look closely at DIY garage door spring injuries. The $400 you save on a professional spring replacement disappears quickly when you’re paying your own emergency room bill. Garage door opener repair in Austin is the same story when it involves the tension system; if the opener is wired to a door with a broken spring, the whole assembly is under load.
The practical test: if the part you’re about to work on stores energy, stop. Springs store energy. Cables transfer it. Tracks and rollers guide it, and those are fair game.
Common Mistakes to Avoid
- Using WD-40 on everything. It’s the most common maintenance mistake we see in Austin. WD-40 strips away what lubrication remains and leaves the metal dry. Use white lithium or a garage door specific product instead.
- Ignoring the popping sound. A pop when the door starts moving is the torsion spring bracket shifting. Every week you hear it, the bolts loosen further. The fix is a socket wrench and two minutes; the failure is a $500 emergency call.
- Testing the auto-reverse with a hand or a foot. Never put any part of your body under a closing garage door to test the safety reverse. That’s what the 2×4 board is for. The opener doesn’t know the difference between a board and a child; it only knows resistance. Test with the board every time.
- Lubricating the tracks themselves. The track surface should stay dry. Grease on the tracks collects dust and pollen and actually increases roller friction. Lubricate the rollers and hinges, not the rail.
- Forcing a door that’s binding. When a door sticks, the temptation is to push harder or adjust the opener’s force setting. That covers the symptom while the underlying problem gets worse. A binding door is trying to tell you something; forcing it bends metal.
- Skipping the monthly bolt check because “it’s fine.” Loose bolts don’t announce themselves until the bracket pulls away. The check takes less time than reading this sentence, and it’s the single highest-ROI maintenance action on this list.
- Replacing the opener when the door itself is the problem. Openers are often blamed for doors that bind, shake, or reverse. Before buying a new opener, release the door and run it by hand. If it’s hard to move by hand, the opener isn’t the issue. You’ll save $300 to $500 by diagnosing correctly.
When to Call a Professional
Call a professional for any torsion spring issue, any visible cable fraying, any track that’s visibly bent or shifted more than a quarter inch, or any door that won’t stay put at the halfway point when opened manually. These are not maintenance items. They’re repairs that require training and the right tools, and attempting them without both is genuinely dangerous. Doyle Garage Doors Austin offers free estimates in Austin – call (361) 470-4316 and a real person answers, day or night. We’ll send a background-checked technician with the name and photo sent to you before arrival, and the price is written down before any work starts. If your door is making a sound you can’t identify, or you’ve found something on this list that’s past the DIY line, that’s exactly what we’re here for.
Frequently Asked Questions
Lubricate your garage door rollers, hinges, and spring twice a year in Austin: once in early spring after pollen season begins, and once in late fall before temperatures drop. The spring application should use a slightly heavier coat to protect against cedar pollen adhesion; the fall application should be lighter to avoid thickening on cold winter mornings. Call (361) 470-4316 for a free estimate if lubrication doesn’t resolve your door’s rough operation.
The number-one cause of complete garage door failure in Austin is loose lag bolts on the torsion spring center bracket, which we cover in our Garage Door Warning Signs: A Austin Homeowner’s Reference Guide. Over thousands of cycles, and especially in homes built on Austin’s expansive clay soils, those bolts back out and the bracket shifts under spring tension. The early warning is a popping sound when the door starts moving. Tighten the bolts as soon as you hear it.
You can safely do your own lubrication, weatherseal replacement, visual inspections, and track bolt tightening. You should never attempt torsion spring work, lift cable replacement, or track realignment yourself; those jobs involve stored energy and can cause serious injury. A good rule: if the part stores energy, leave it to a trained technician. Call (361) 470-4316 for a free estimate on any spring or cable work in Austin.
Heat expansion is the main reason. The metal and plastic components inside your opener expand in 100°F temperatures, which drifts the limit switch calibration and causes the door to reverse or stop short. The door’s springs also lose tension slightly as metal heats. If summer misbehavior disappears when you open the door manually, it’s the opener’s calibration, not the door itself.
DIY maintenance costs $15 to $50 for lubricant and a replacement weatherseal. Professional maintenance visits in Austin typically run $75 to $150 for a full inspection, lubrication, and minor adjustments. Repairs found during maintenance are priced separately, and a broken spring replacement runs $250 to $450 depending on the door. At Doyle Garage Doors Austin, the price is quoted in writing before any work starts. Call (361) 470-4316 for an exact quote – estimates are free.
The warning signs of a failing torsion spring are a door that feels heavy when opened manually, a gap in the spring coil visible from the side, a door that drops when released at the halfway point, and a loud pop or bang from above the door. If you see any of these, stop using the door as your primary entrance until a technician inspects it. A spring that snaps while the door is moving can cause significant damage to the door and injury to anyone nearby.
The Bottom Line
Austin’s garage doors fail in predictable patterns, and this checklist is built around those patterns. Tighten the spring bracket bolts when you hear popping. Lubricate in spring and fall, never with WD-40. Watch for heat-related opener drift in summer and freeze-related cable issues in winter. Do the 60-second driveway check weekly. Most importantly, know where the DIY line is: springs and cables store energy, and energy plus a wrench in the wrong hands is a hospital visit. For everything else, Doyle Garage Doors Austin is here. We’ve served Austin since 2001, we send the technician’s name and photo before arrival, we put every price in writing before the work starts, and we back every repair with a 365-day written guarantee. If it’s not done right, we make it right. That’s the whole promise.
Written by Aaron Teague, Owner at Doyle Garage Doors Austin, serving Austin since 2001.
See the difference
 Before
 After
After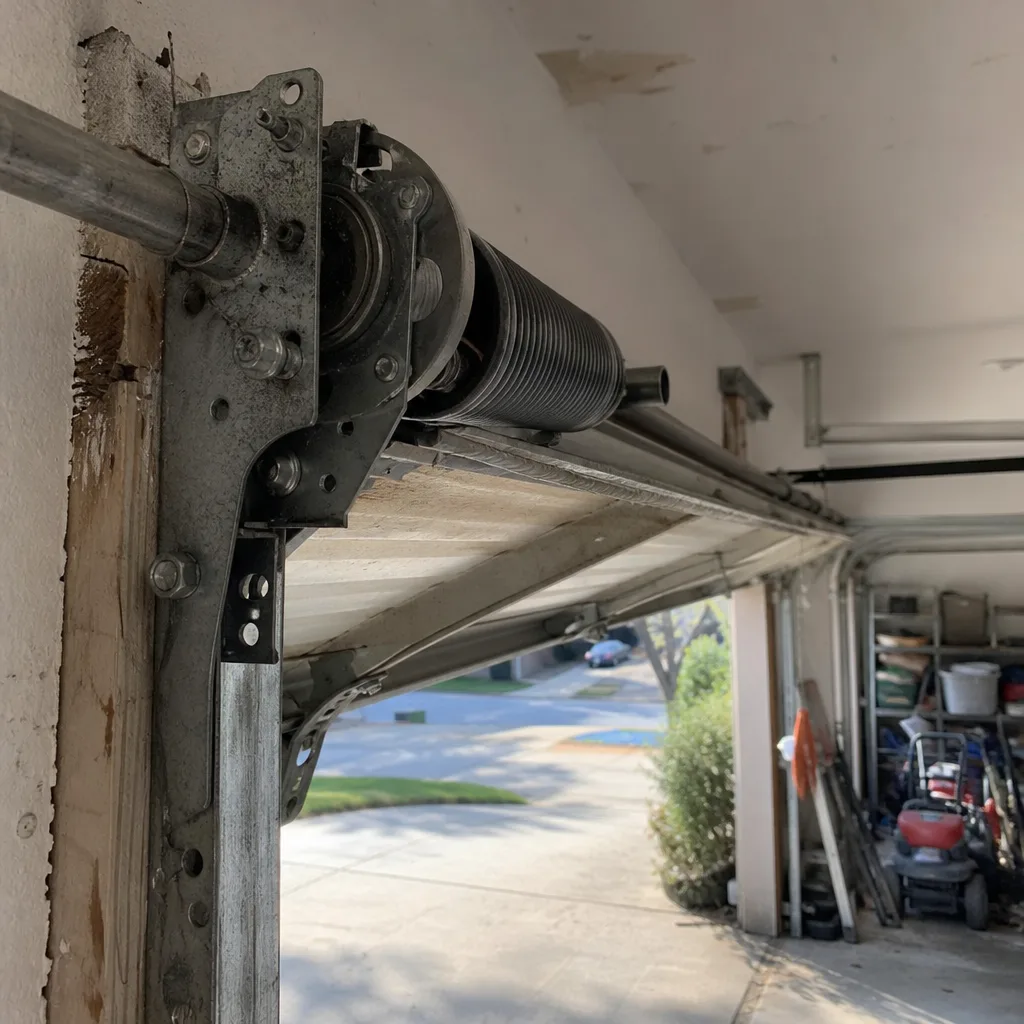 Before
 After
After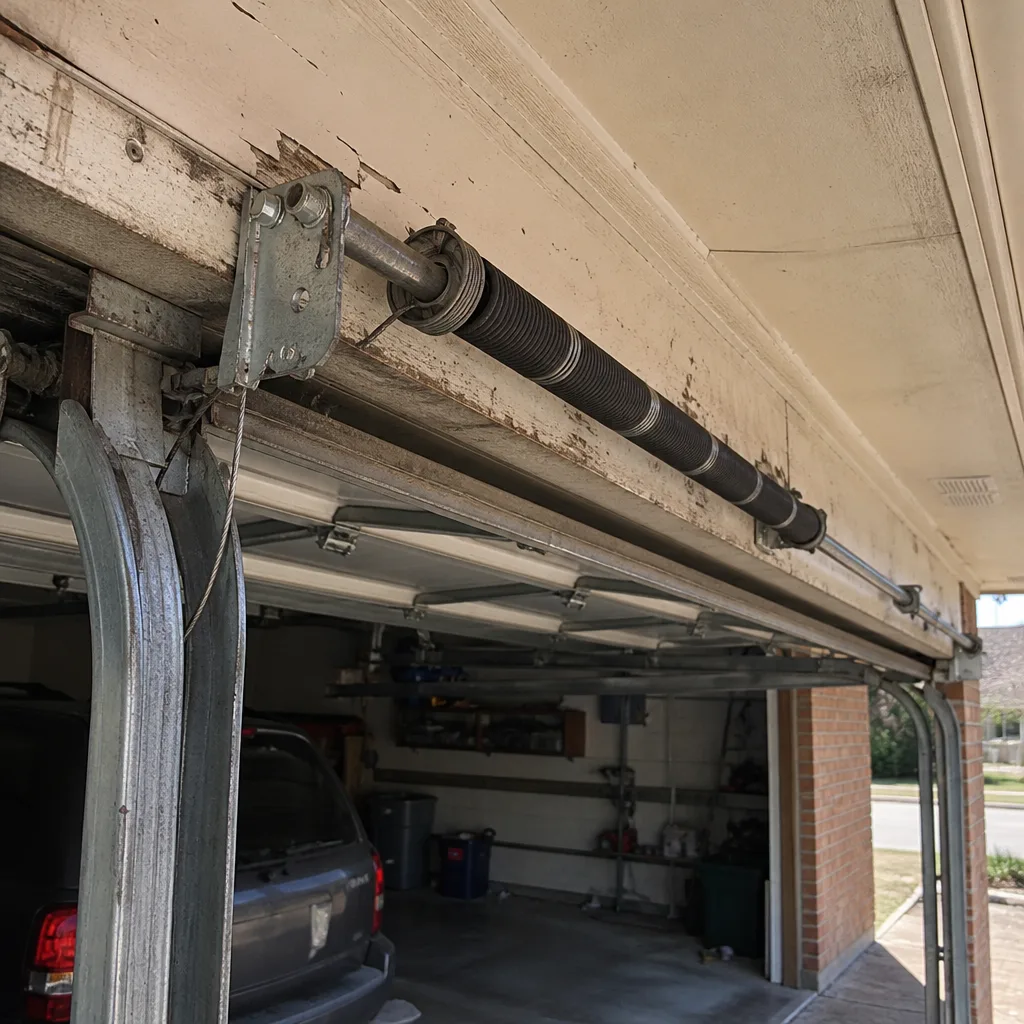 Before
 After
After